I know the panic of a broken track in the middle of a rush job. It kills your schedule and drains your budget immediately. You need to know exactly when your equipment will fail before it happens.
You must measure grouser height and plate thickness using a depth gauge or caliper. Compare these figures against the OEM's new dimensions. Generally, when the grouser height drops to 50% of its original size, or the chain pitch extends beyond 3%, you need to plan a replacement.
Let’s look at the specific tools and methods I recommend for accurate assessment, so you can avoid unexpected downtime.
What Specific Tools and Techniques Should I Use to Measure Grouser Height and Wear?
You cannot eyeball these measurements and expect precise results for your fleet. You need the right tools to get data you can trust and make smart buying decisions.
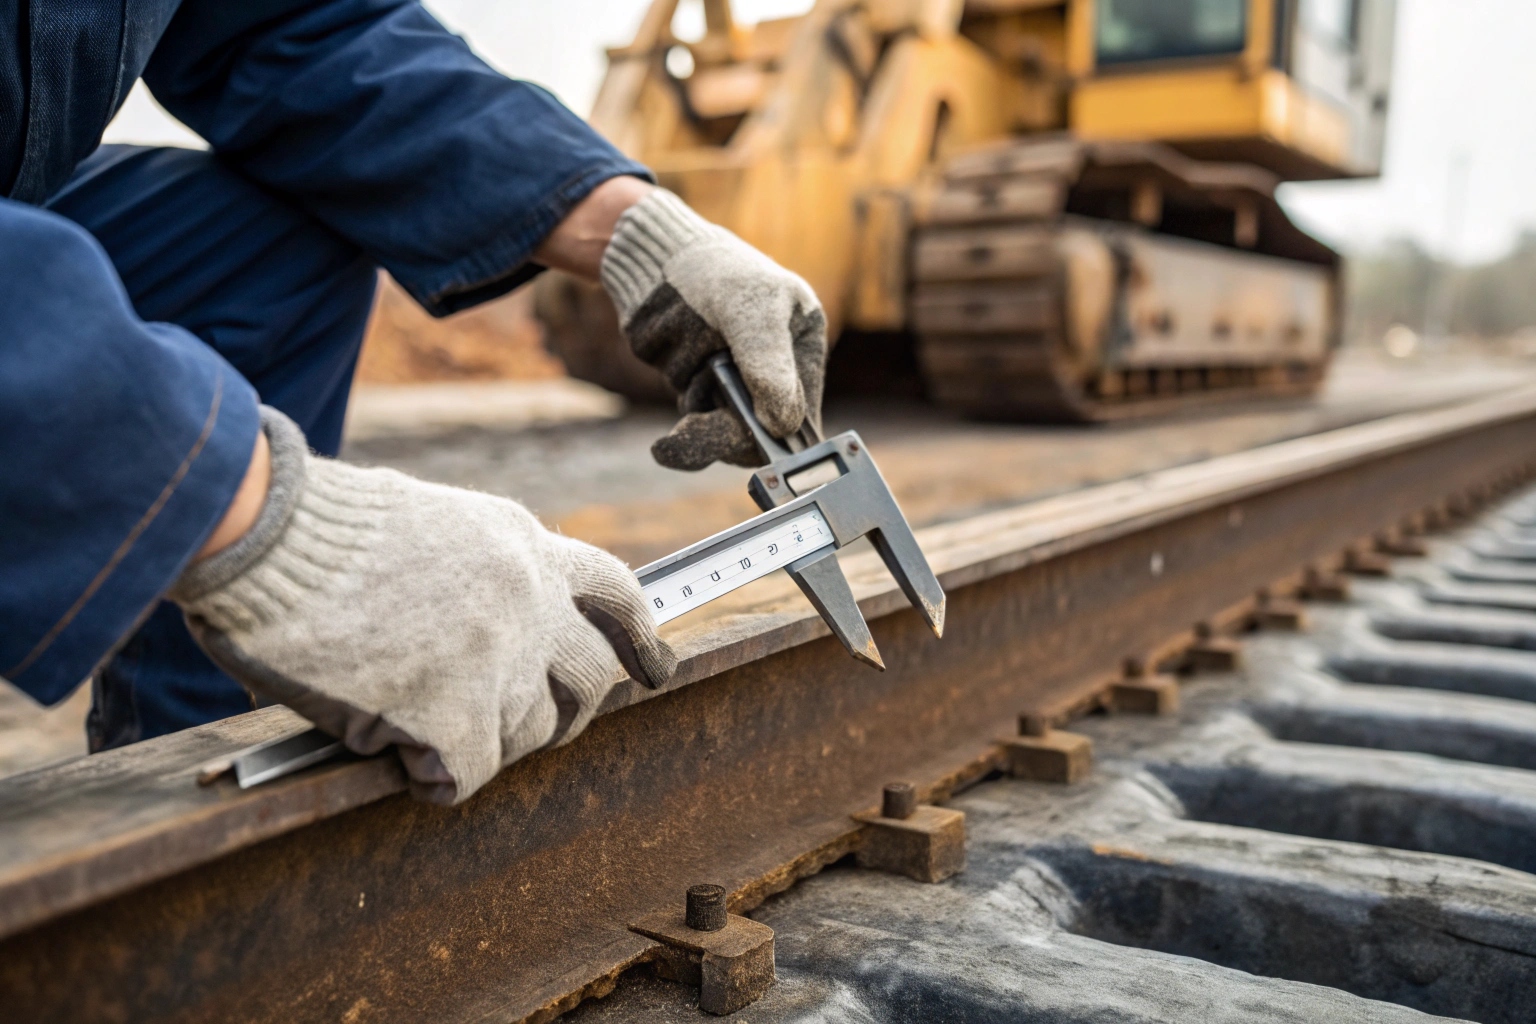
I recommend using a dedicated depth gauge or a high-quality caliper. You must clean the track thoroughly first. Place your tool about one-third of the way in from the shoe’s outer edge. This spot gives the most accurate reading because it avoids the natural rounding at the corners.
The Importance of Correct Tool Selection
When I visit job sites, I often see maintenance teams using a simple tape measure to check their undercarriage. This is a mistake. A tape measure is fine for rough estimates, but it lacks the precision you need for expensive machinery. For the best results, you should use a depth gauge 1 or a specialized ultrasonic indicator 2. These tools allow you to measure the distance from the tip of the grouser bar down to the shoe plate with high accuracy.
If you want to track the wear rate over time, you need consistency. I always tell my clients to create a measurement log. You cannot rely on memory. By recording specific numbers to the millimeter, you can see trends. This helps you predict exactly when you will need to order new parts from me or your local supplier.
Step-by-Step Measurement Process
To get a reading that actually means something, you must follow a strict process. First, park the machine on level ground. This ensures there is no unusual stress on the tracks. Next, you must clean the area. Hardened mud or rock packing can change your measurement by several millimeters. If your data is wrong, your replacement plan will fail.
Here is a comparison of the tools you might consider:
| Tool Type | Precision Level | Best Application | Estimated Cost |
|---|---|---|---|
| Tape Measure | Low | Rough field estimates | Low |
| Depth Gauge | High | Standard maintenance checks | Medium |
| Ultrasonic Probe | Very High | Measuring plate thickness | High |
| Calipers | High | Checking pin and bushing diameter | Medium |
Why You Measure at the 1/3 Mark
The location of your measurement matters just as much as the tool you use. Do not measure at the very center of the shoe. The center often wears differently due to "rocking" over hard terrain. Also, do not measure at the very edge. The corners of the grouser bar 3 naturally round off during turning.
The sweet spot is exactly one-third of the distance from the outer edge of the shoe. This area typically represents the true wear of the steel. If you measure here, you get a realistic view of how much life is left in the component. This simple trick prevents you from replacing parts too early or too late.
What Percentage of Wear Is the Recommended Point for Replacement?
Many dealers guess when to change parts, but guessing costs you money. You need a hard number to decide when to pull the trigger and order new stock.
Industry standards suggest replacing shoes when grouser height reaches 50% of the original dimension. However, you must also check the plate thickness. If the plate bends or the bolt holes become oval-shaped, you must replace the shoe immediately, regardless of the remaining grouser height.
Defining "100% Worn"
There is a big misunderstanding in this industry about what "100% worn" means. It does not mean the metal is completely gone. It means the part has lost its hardened surface. Once you wear through the heat-treated layer 4, the soft steel underneath wears away very fast. We call this the wear limit 5.
For most track shoes, this limit is reached when the grouser bar is about half of its original height. For example, if a new grouser is 50mm tall, you should plan to replace it when it reaches 25mm. If you wait longer, you lose traction. Your machine has to work harder to move dirt. This burns more fuel and puts extra stress on the engine.
Structural Integrity Signals
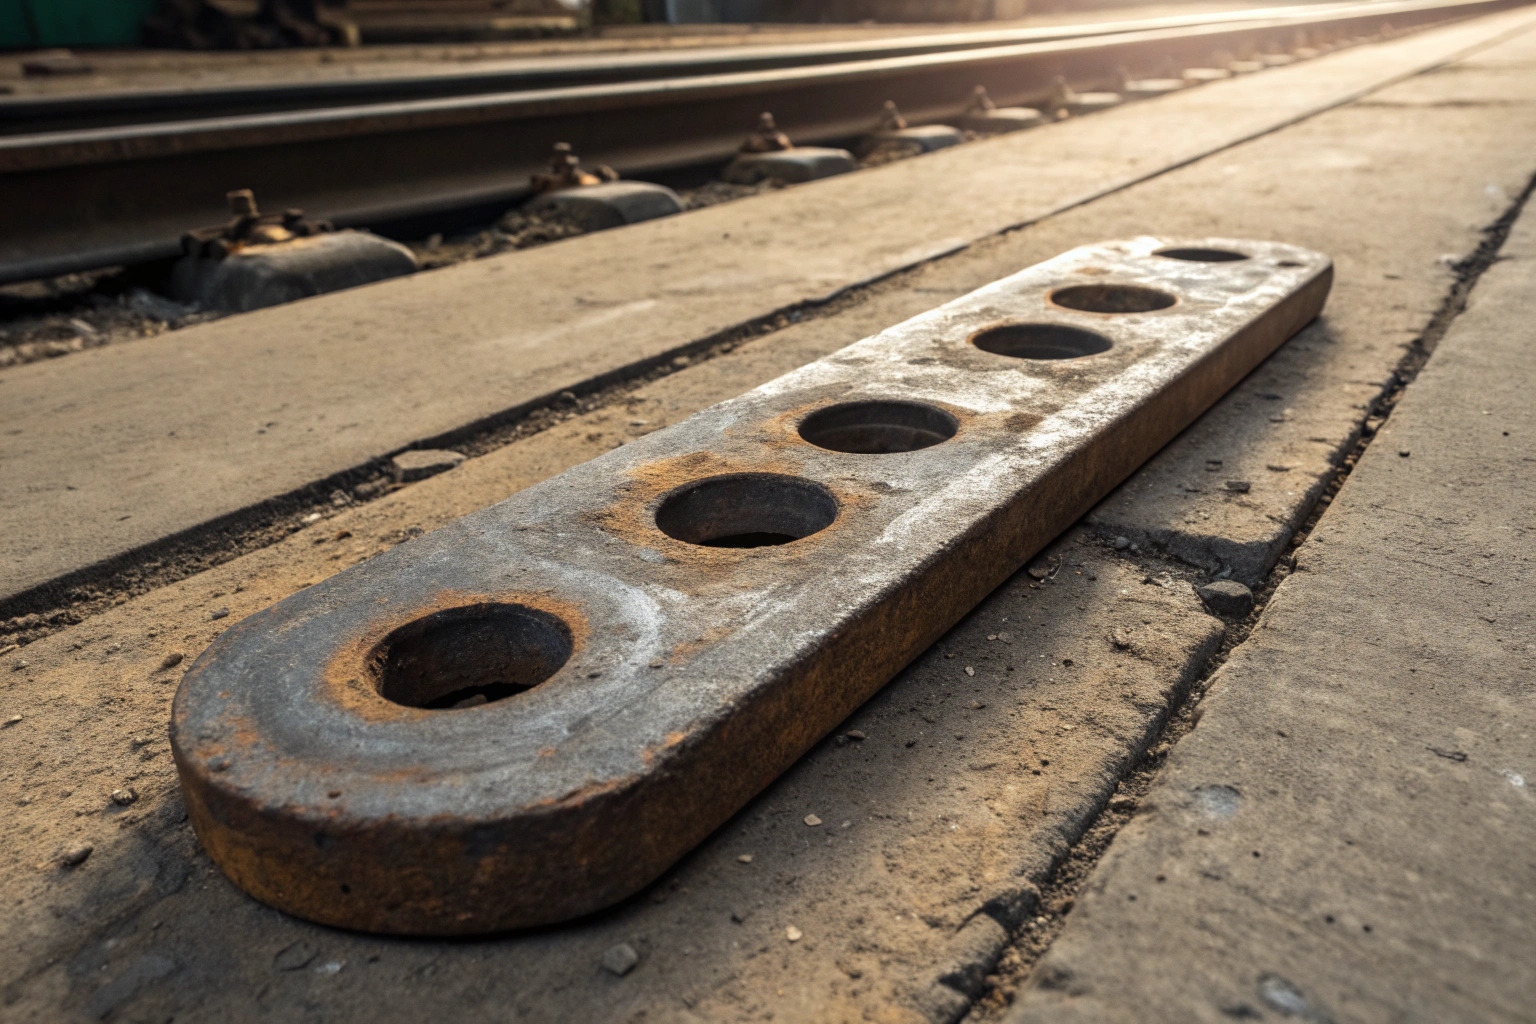
Height is not the only thing that matters. You must look at the structural health 6 of the shoe. I always check the bolt holes. If they look like ovals instead of perfect circles, you have a big problem. This elongation means the shoe is moving loose on the chain.
If you see this, you cannot fix it. You must replace the shoe. Some people try to weld new grouser bars onto old plates. We call this "re-lugging." This is risky. If the bolt holes are stretched, the plate has already failed structurally. Welding new bars on a failed plate is a waste of money. The plate will crack under the first heavy load.
Environmental Factors That Speed Up Wear
The 50% rule is a baseline, but your job site changes the math. Different soil types chew up steel at different rates. You need to adjust your inspection schedule based on where you are working.
- Sand and abrasive soil: These act like sandpaper. They wear down the height of the grouser quickly but might leave the bushings alone.
- Rock and heavy impact: This causes cracks and bending. You might need to replace a shoe that still has good height because it is bent.
- Wet clay: This causes "packing." The mud gets stuck and hardens, increasing the tension on the track.
| Condition | Wear Focus | Recommended Inspection Interval |
|---|---|---|
| Soft Dirt/Loam | Minimal Wear | Every 500 Hours |
| Abrasive Sand | Surface Grinding | Every 250 Hours |
| Rocky Terrain | Impact/Structural Damage | Every 100 Hours |
So, while 50% wear is the general rule, a bent plate or a cracked shoe means 0% life remains. You must change it immediately to keep your operator safe.
How Does My Track Chain Wear Affect the Wear Life of My Track Shoes?
Your track shoes do not work in isolation; they rely on the chain. If your chain fails, your new shoes become worthless very quickly.
Chain pitch extension is the stretching of the link assembly. You should measure across four or five links to get an average. If the pitch extends more than 3%, the chain rides high on the sprocket. This mismatch destroys your track shoes and sprockets simultaneously.
Understanding Pitch Extension
"Pitch" is simply the distance between the center of one pin and the center of the next pin. As the pins and bushings inside the chain wear down, this distance gets longer. We call this chain pitch 7 extension. The chain effectively gets longer, even though the steel links themselves do not stretch.
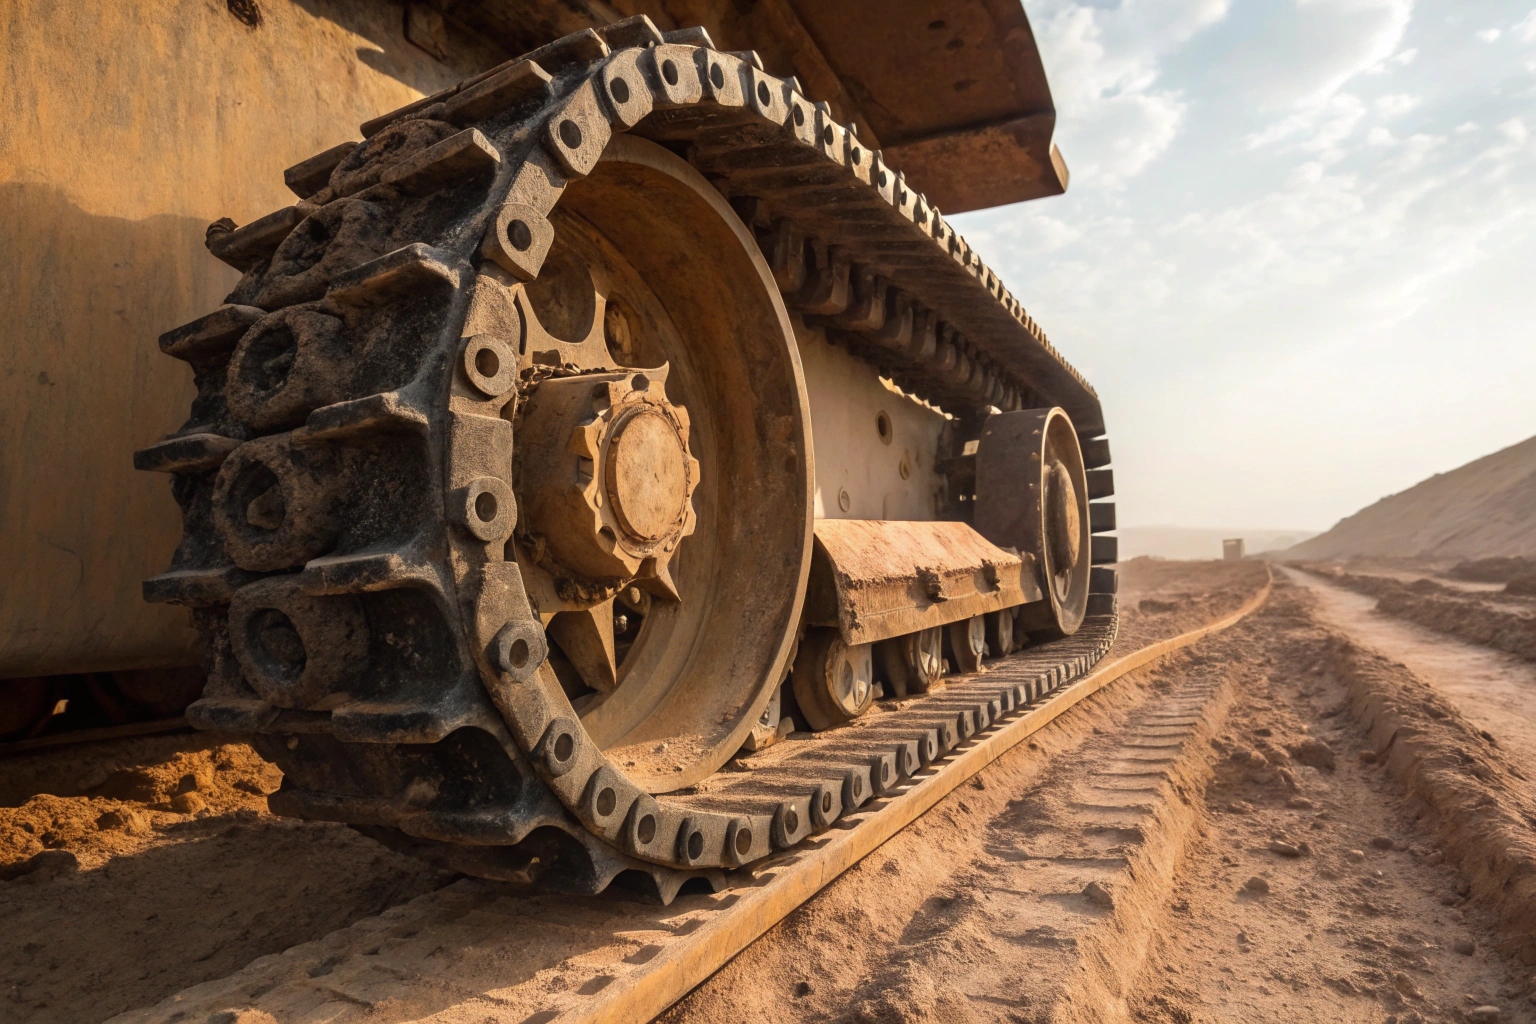
When the pitch gets too long, the chain cannot wrap around the sprocket correctly. It starts to ride higher up on the sprocket teeth 8. This mismatch destroys your track shoes and sprockets simultaneously. The sprocket teeth act like a hammer, smashing into the bushings and the track shoes. This vibration travels right into the shoe plate. It causes the bolts to loosen and the holes to wallow out.
The "Shark Fin" Effect
If you ignore chain wear, you will ruin your sprockets. The worn chain grinds the sprocket teeth into sharp points. We call this a "shark fin" profile.
Here is a critical rule I tell all my customers: Never put a new track chain on a shark-fin sprocket. The old sprocket implies a different pitch. It will gouge out the new bushings you just paid for. You will destroy a brand new undercarriage in just a few hundred hours. It is always cheaper to replace the sprocket and the chain at the same time.
Operational Habits That Kill Chains
The way your operators drive the machine affects chain life directly. The biggest killer is reverse travel. When a dozer or excavator travels backward, the load creates a scrubbing action on the pins and bushings.
Industry data shows that wear accumulates roughly three times faster in reverse than in forward travel. If your operators like to reverse at high speed across a site, they are burning your money. Also, keep an eye on track tension. A track that is too tight increases wear by up to 50%. It creates artificial load even when the machine is sitting still.
| Component | Normal Pitch | Max Allowable Extension | Consequence of Failure |
|---|---|---|---|
| Track Chain | OEM Standard (e.g., 190mm) | +3% (e.g., 195.7mm) | Bushing breakage |
| Sprocket | Matches Chain | Tooth profile change | Destroys chain bushings |
| Track Shoe | Bolt alignment | Hole elongation | Shoe falls off |
You must measure pitch across 5 to 10 links. Measuring just one link is not accurate enough. If the average extension is over 3%, your shoes are in danger, no matter how much steel is left on the grouser.
Can I Just Replace a Few Individually Worn-Out Shoes, or Should I Always Replace the Entire Set?
It is tempting to save money by changing only the broken parts. I often see clients try this, but it usually backfires on them.
You should never mix old and new track shoes on the same side of a machine. The height difference creates severe vibration. This vibration damages the rollers, idlers, and final drive. You can replace single shoes only if they suffered accidental damage, not general wear.

The Dangers of Mixing Heights
Imagine wearing one hiking boot and one flip-flop. That is what happens to your machine when you mix new and old shoes. The new shoe has a tall grouser. The old shoes are worn down. Every time the new shoe hits the ground, the machine bumps up.
This creates a constant rhythmic vibration. We call it the "bumpy road" effect. This vibration does not just annoy the operator. It destroys the rest of the undercarriage. The rollers and idlers take a heavy impact with every rotation. Eventually, this destroys the bearings in your final drive motor 9. The cost to fix a final drive is huge compared to the price of a few track shoes.
When Individual Replacement Is Okay
There is one exception to this rule. If you have a relatively new undercarriage (less than 20% worn) and you bend one shoe on a rock, you can replace just that one. The height difference is small enough that it won't cause damage.
But if your undercarriage is 75% worn, and one shoe breaks, you have a hard choice. Putting a new shoe in that chain will cause the damage I described above. In this case, it is better to find a used shoe with similar wear from a scrap yard, or bite the bullet and replace the whole set.
Economic Considerations
You have to look at the total cost of ownership 10. Some people talk about a "pin and bushing turn." This is where you take the chain apart and rotate the pins 180 degrees to use the unworn side.
For smaller machines (like a D5 or smaller), the labor cost to do this is so high that it is usually not worth it. You are better off running the chain to destruction and buying a new aftermarket set from a reliable supplier like us. For huge mining dozers, turning pins makes sense. But for standard construction equipment, replacing the full set ensures everything wears evenly.
- Consistent Wear: All parts degrade at the same rate.
- Predictable Maintenance: You know exactly when the next service is due.
- Better Resale Value: A machine with a matched undercarriage sells for more.
So, do not be penny wise and pound foolish. If the set is worn, replace the set. Your machine will run smoother and last longer.
Conclusion
To keep your machine running, measure wear with precision tools, not guesses. Monitor your chain pitch, as it dictates the life of your shoes. Finally, replace components in full sets to avoid costly vibration damage.
Footnotes
1. Importance of precision measurement tools in undercarriage maintenance. ↩︎
2. Advanced non-destructive testing method for thickness verification. ↩︎
3. The traction-providing protrusion on a track shoe assembly. ↩︎
4. Metallurgical process increasing steel surface hardness and durability. ↩︎
5. Maximum allowable degradation point before component failure. ↩︎
6. Evaluating component physical stability beyond simple dimensions. ↩︎
7. Measurement between link pins determining chain wear status. ↩︎
8. Gear mechanisms that engage with and drive the track chain. ↩︎
9. Hydraulic motor powering the track system movement. ↩︎
10. Calculation including purchase price, maintenance, and operating costs. ↩︎