You order expensive undercarriage parts 1, but they arrive like a pile of scrap metal because of bad loading. I know that sinking feeling. I use a strict, proven loading process to ensure your track shoes arrive in your warehouse in perfect condition every time.
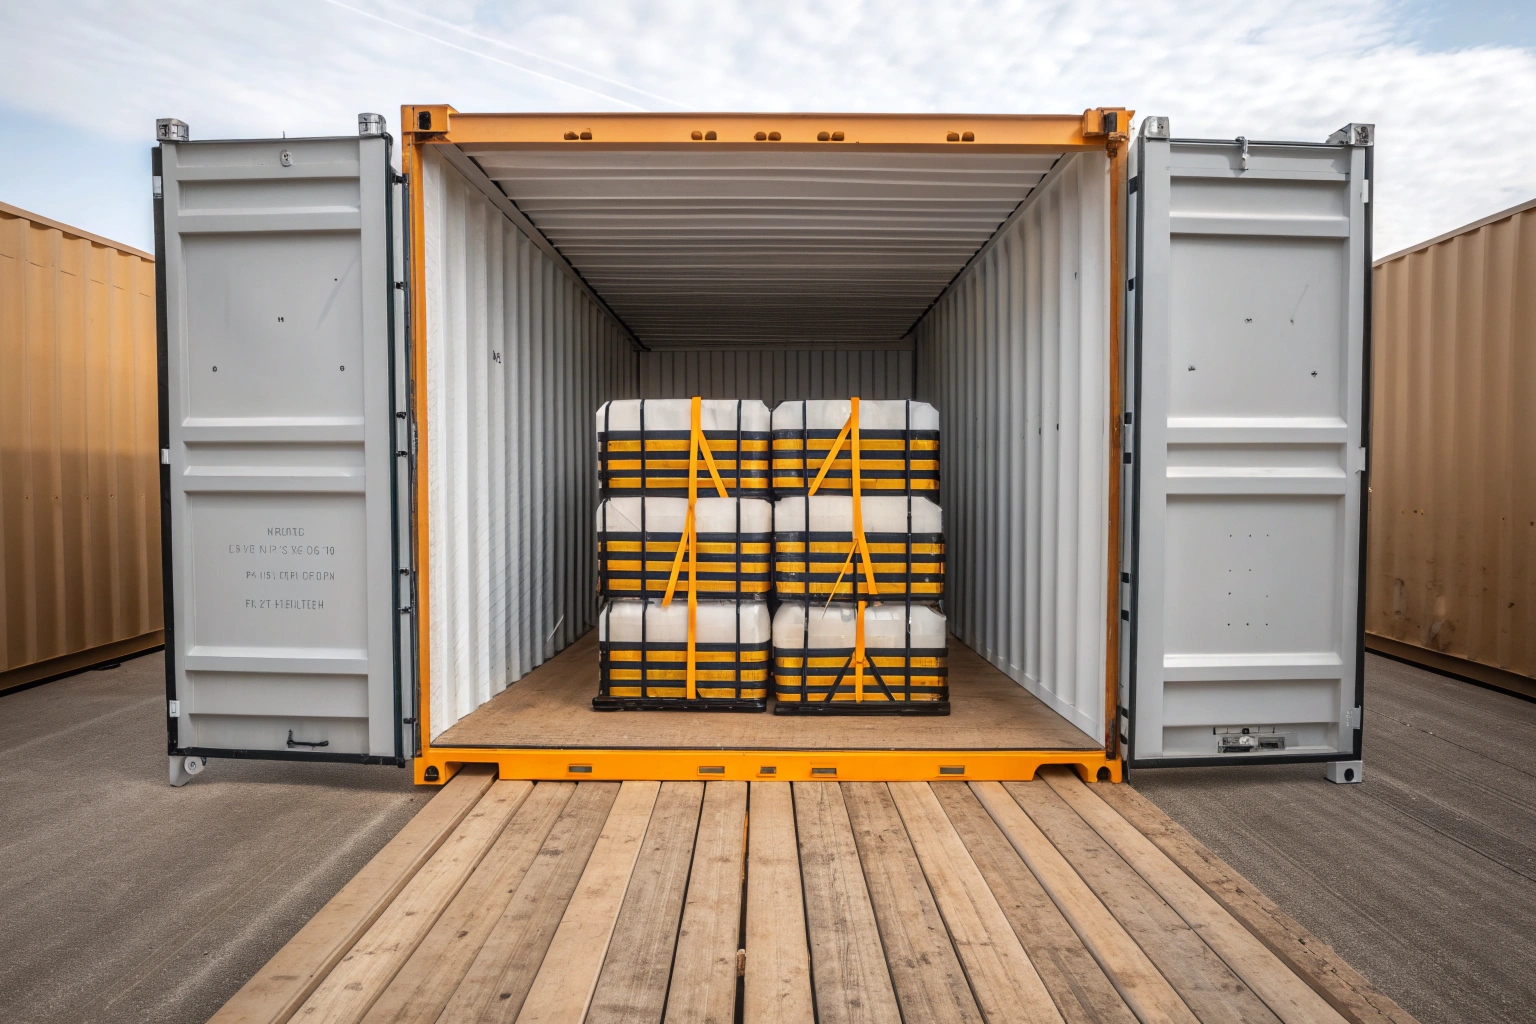
We center-load heavy assemblies to balance weight and use kiln-dried hardwood 4x4s for blocking. We secure everything with high-strength polyester strapping in an "X" pattern and place rubber friction mats between layers to prevent any movement during ocean transit.
I have seen too many containers ruined by lazy loading practices. A shifted load can crush the doors from the inside or even flip a truck on the highway. Let me show you the exact system I use to keep your shipment safe from our factory in Fujian to your door in the USA.
Will you send me photos or a video of my actual container being loaded so I can see the bracing?
Blind trust is risky in international trade. You need proof that your goods are safe before they leave the dock. I believe in total transparency, so you see exactly what I see at the warehouse.
I send you a complete photo report before the doors close, showing the blocking, bracing, and moisture protection. You will see the specific placement of airbags and straps, giving you peace of mind that your shipment meets all safety standards.
When you buy from overseas, you often feel blind. You pay the money, and then you wait for weeks. You worry about what is happening inside that steel box. I solve this by being your eyes at the factory. I do not just send you a packing list; I send you visual proof.
We follow a strict Seven-Point Inspection 2 process for every container. Before we even put the first pallet inside, we check the empty container. We look for holes in the roof that could let water in. We check the floor for oil spots that could stain your new parts. We check the door seals to make sure they are tight. If the container is bad, I send it back. I will not put your high-quality track shoes in a bad box.
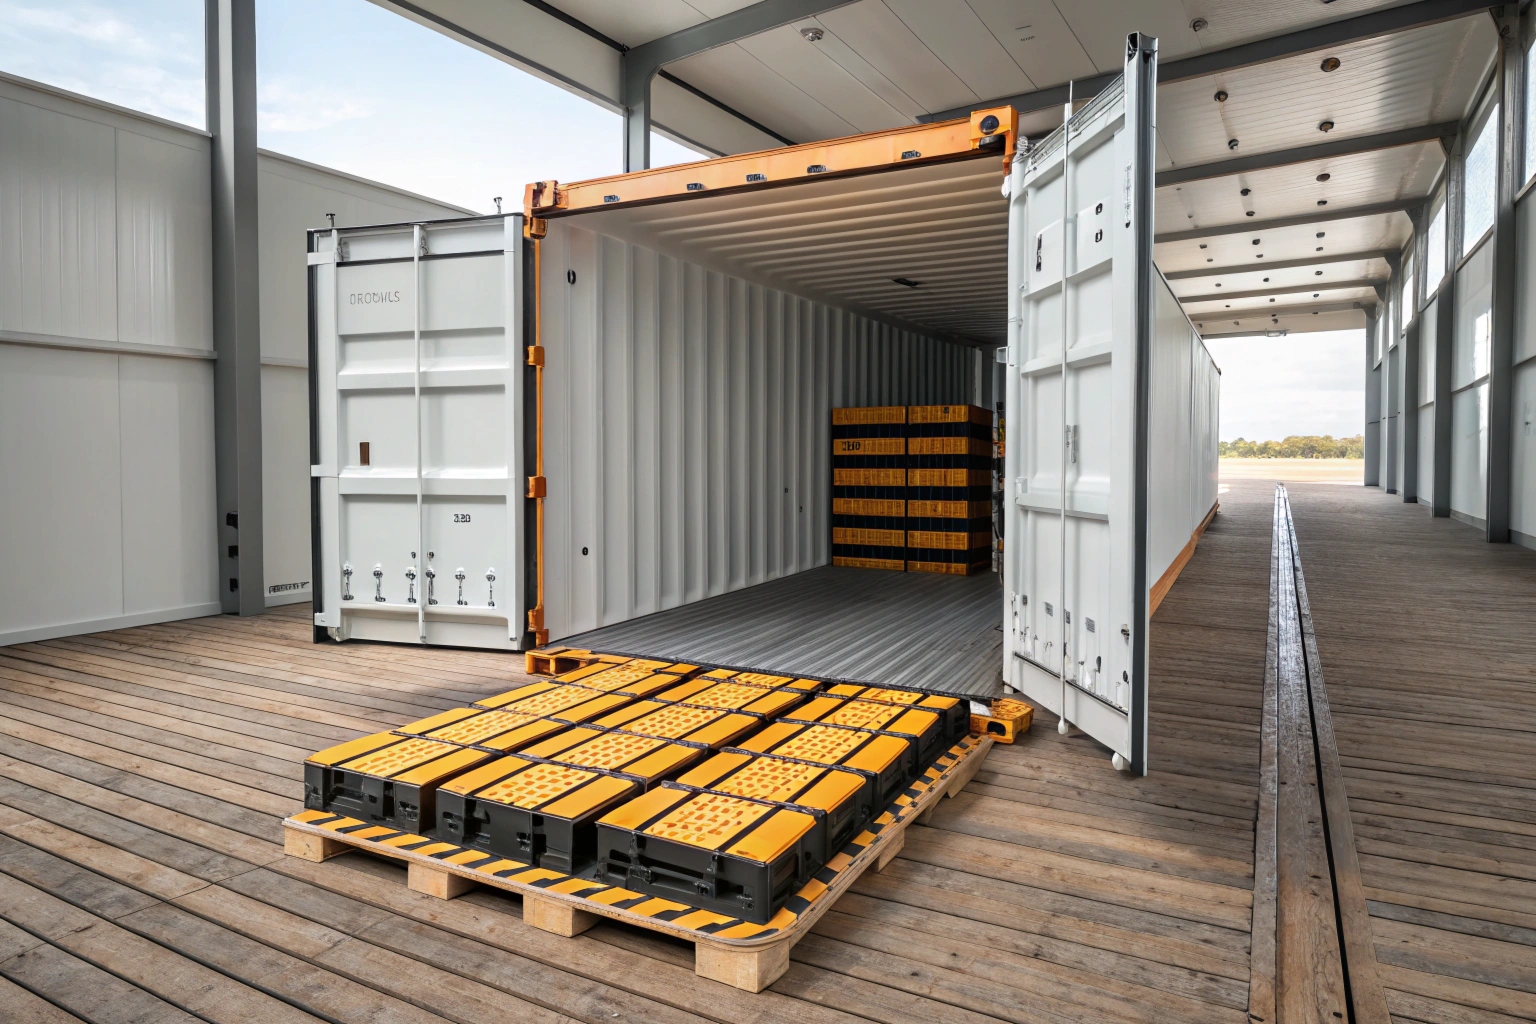
Once loading starts, my team takes photos at every stage. We do not just take one picture of the closed doors. We take pictures of the first layer of track chains on the floor. Then, we take pictures of the bracing wood we nail down. We take close-up photos of the metal buckles on the straps to show you they are tight. Finally, we take a photo of the seal number on the locked door.
This photo report is vital for you. First, it gives you peace of mind. You know the job was done right. Second, it is a powerful tool for insurance. If the shipping line damages the container during a storm, these photos prove the cargo was safe when it left my factory. This makes any insurance claim 3 much faster and easier for you.
Container Inspection Checklist
| Step | What We Check | Why It Matters |
|---|---|---|
| 1. Light Test | Go inside, close doors, look for light. | Pinholes let in saltwater and cause rust. |
| 2. Floor Check | Look for nails, oil, or wet spots. | Prevents damage to packaging and contamination. |
| 3. Wall Hooks | Check if lashing rings are strong. | We need strong anchor points for our straps. |
| 4. Door Seals | Check rubber gaskets on doors. | Keeps ocean spray out of the container. |
What materials (like dunnage, lumber, and high-strength straps) do you use to secure the heavy pallets?
Cheap materials snap like twigs under the weight of bulldozer parts during a storm at sea. I refuse to use scrap wood. I only use certified, industrial-grade materials to lock your heavy undercarriage parts in place.
We use heat-treated ISPM-15 hardwood lumber nailed to the floor and woven polyester lashing straps rated for 5,000 kg. We also use dunnage airbags to fill voids, creating a solid internal structure that prevents the cargo from shifting or collapsing.
The ocean is rough. During a big storm, a ship can roll 30 degrees to the side. If your cargo can move just one inch, it can gain speed and smash through the container wall. Friction is not enough to hold steel parts. We have to build a cage inside the container.
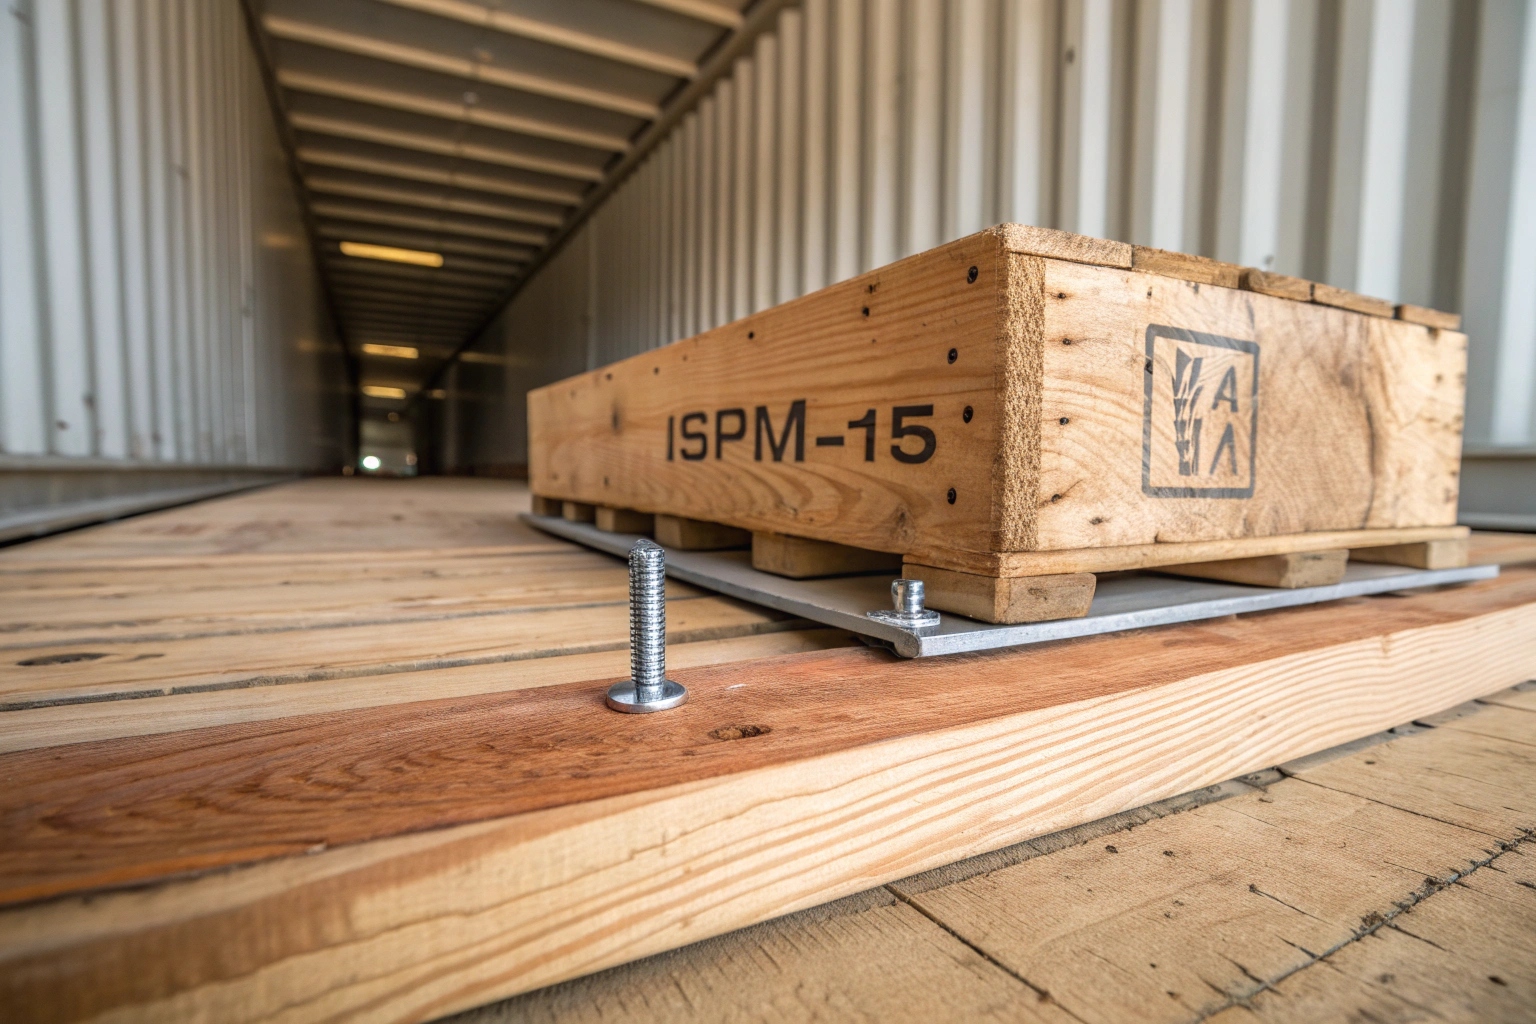
We start with the wood. We do not use soft pine or scrap pallets. We use 4x4 inch hardwood lumber. This wood is strong and dense. We nail this lumber directly into the wooden floor of the container to create a "bulkhead" or a wall on the floor. This prevents the heavy pallets from sliding forward or backward. We also make sure all wood is "heat-treated" and stamped with ISPM-15 4 marks. This is a rule for US Customs to prevent bugs from entering the country. If the wood is not stamped, your cargo will get rejected at the port.
Next, we look at the straps. In the past, people used steel bands. But steel bands are dangerous. They can snap and cut people when they open the container. They also loosen if the cargo settles. I use woven polyester cord strapping 5. It is safer and actually stronger than steel. It acts like a seatbelt. It has a little bit of stretch. If the ship hits a big wave, the strap absorbs the shock and pulls the cargo back tight.
We also use dunnage bags 6. These are big air pillows we put in the gaps between the pallets. We inflate them with air. They push against the cargo and lock everything against the walls. This stops the side-to-side rocking movement. We do not leave any empty space for the goods to move.
Our Bracing Material Specifications
| Material | Specification | Purpose |
|---|---|---|
| Lumber | 4x4 Hardwood (ISPM 15) | Creates a physical stop on the floor to prevent sliding. |
| Straps | Woven Polyester (5000kg+ break strength) | Secures the load to the container eyelets. |
| Fasteners | Heavy-duty 4-inch floor nails | Anchors the lumber to the container deck. |
| Airbags | Woven Polypropylene Dunnage Bags | Fills gaps between pallets to stop side-to-side rocking. |
How do you ensure the weight is properly distributed inside the container (not overweight on one axle)?
Overweight fines kill your profit margins, and uneven loading causes accidents. I calculate the weight distribution precisely so your truck passes every scale and the ship stays stable.
I follow a strict weight distribution plan, placing the heaviest track assemblies on the floor along the centerline. We ensure no more than 60% of the payload sits in one half of the container, keeping axle weights legal and safe.
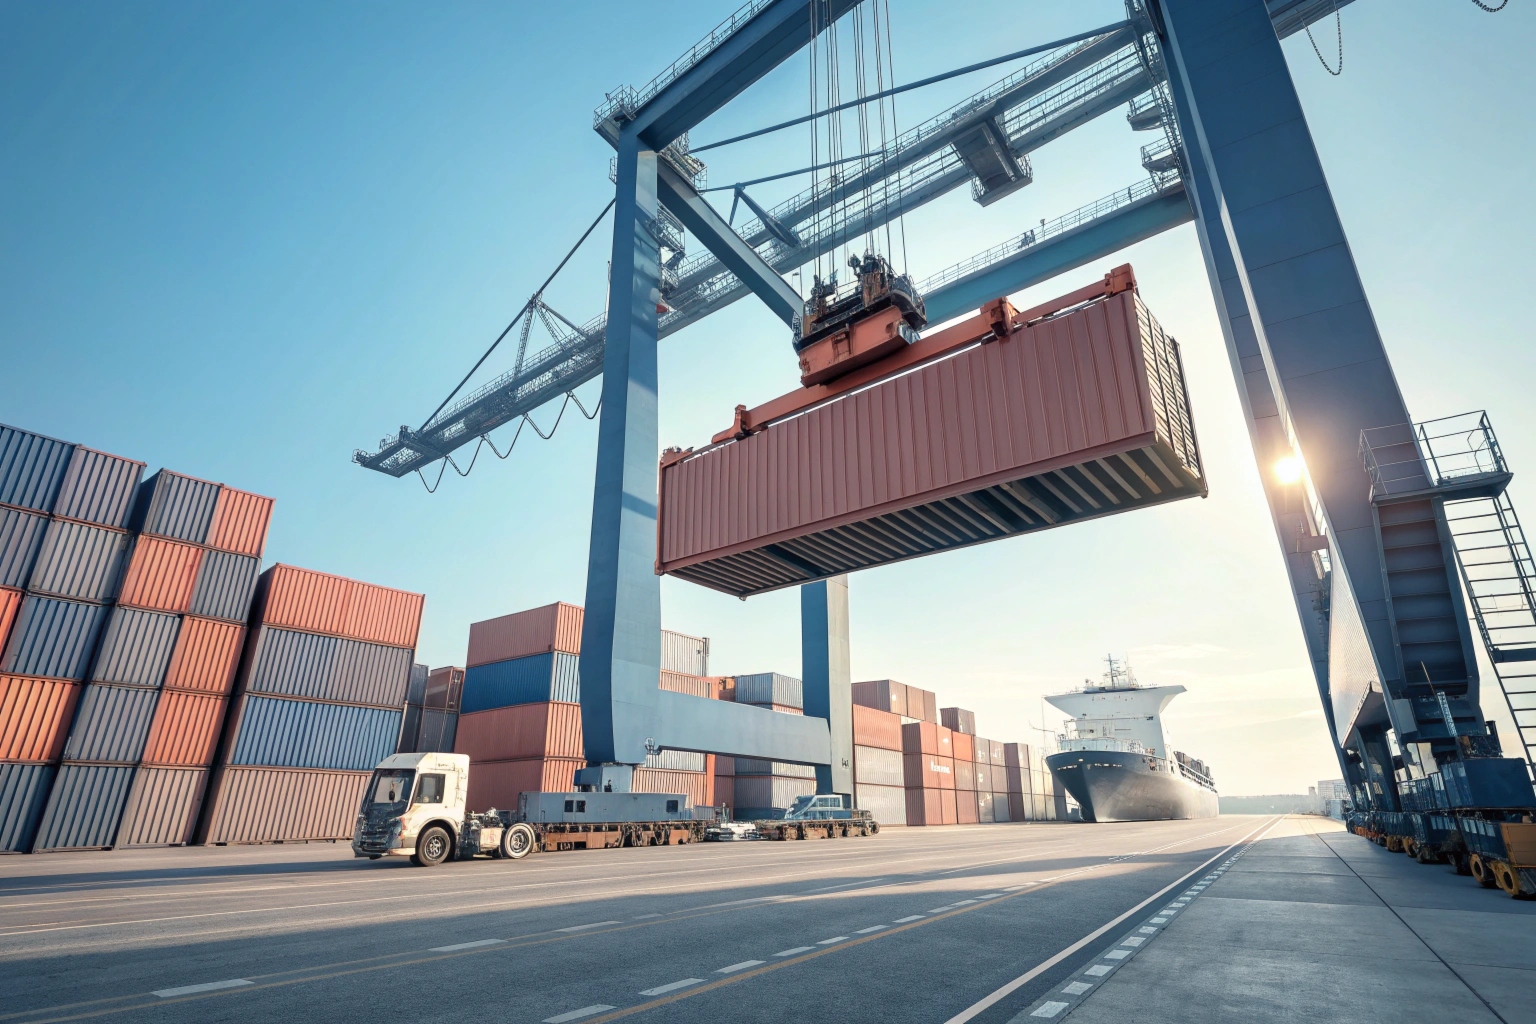
When we load heavy items like track shoe assemblies, gravity is our biggest concern. If we get this wrong, the truck driver in the US could get a heavy fine for an overweight axle. Or worse, the container could tip over at the port when the crane lifts it.
I always tell my team: "Think about the crane." When the port crane lifts the box, it must stay flat. To do this, we use a specific weight distribution plan before we move a single pallet. We place the heaviest track chains and assemblies right on the floor. We run them down the center line of the container. We never stack heavy items high up. This keeps the center of gravity low.
We also have to think about the floor rating. A standard container floor is strong, but point loading 7 can punch right through it. If we are shipping very dense track rollers, the weight is concentrated in a small spot. To fix this, we use plywood sheets or long wooden skids to spread the weight out. This acts like a snowshoe. It spreads the heavy weight over a larger area so the floor does not break.
We also pay close attention to the US Department of Transportation 8 (DOT) rules. I know that in the US, you have strict weight limits per axle (Steer, Drive, and Tandem axles). If we put all the heavy parts at the nose (front) of the container, your truck's drive axle will be overweight. If we put them all at the door (rear), the trailer axle will be overweight. We balance the load front-to-back. I aim for an even split. This ensures your trucker drives through the weigh station with a green light.
Weight Distribution Rules We Follow
| Zone | Action | Why We Do It |
|---|---|---|
| Center Floor | Place heaviest track assemblies here. | Keeps the center of gravity low and stable. |
| Side Walls | Use for lighter, boxed parts (bolts/nuts). | Balances the load left-to-right. |
| Door Area | Leave clear or use for light crates. | Prevents cargo from falling out when you open the door. |
| Top Layer | Only for light items (under 500kg). | Prevents the stack from becoming "top-heavy" and tipping. |
Have you had customer complaints about "container shift" (cargo moving) in the past, and how did you fix it?
Mistakes happen in this industry, and I learned the hard way years ago. Now, I use those lessons to guarantee your cargo never moves, even in a storm.
We solved past shifting issues by introducing anti-slip rubber mats between metal layers and switching to "locking" stack patterns. We also doubled the number of floor nails and upgraded to wider lashing straps to handle the lateral forces of ocean travel.

About five years ago, I had a problem. A new customer in Texas received a container of track shoes. When they opened the doors, two pallets had tipped over. The parts were scratched, and the customer was angry. It was a painful lesson, but it changed how we work. We analyzed what went wrong. We found that steel-on-steel is very slippery. When the ship rolled, the top layer of track shoes slid off the bottom layer because there was no friction.
To fix this, we changed two big things. First, we introduced "Friction Layers." Now, we never stack metal directly on metal. We place a thick rubber mat or a sheet of plywood between every layer of track assemblies. This increases the friction. It makes the layers "sticky" so they cannot slide.
Second, we started using the "Nesting" technique. Track shoes have grousers 9 (the raised cleats that dig into the dirt). We used to stack them flat. Now, we interlock them. We fit the grouser of the top shoe into the gap of the bottom shoe. This mechanically locks the parts together. It is like Lego bricks. Once they are nested, they cannot move side-to-side.
We also upgraded our floor blocking. We used to use three nails per block. Now we use five heavy-duty nails. We arrange the blocks in a "crib" pattern that supports the pallet from all four sides. Since we made US Customs 10 compliant changes and improved our bracing, we have not had a single claim for shifted cargo. We turned a failure into our strongest safety feature.
Conclusion
Loading is not just the last step; it is the most critical step to protect your money. By using photos for proof, industrial-grade bracing, and smart weight planning, I ensure your parts arrive ready to sell. Would you like to see a sample loading report from our last shipment to the US?
Footnotes
1. Guide to maintenance and management of heavy machinery undercarriages. ↩︎
2. Industry standard procedure for inspecting freight containers before loading. ↩︎
3. Understanding financial protection for goods during international shipping. ↩︎
4. International standards for phytosanitary measures in wood packaging. ↩︎
5. Advantages of using polyester over steel for cargo securing. ↩︎
6. Usage of inflatable bags to stabilize cargo in containers. ↩︎
7. Technical explanation of concentrated load stress on container floors. ↩︎
8. Federal regulations governing transportation safety in the United States. ↩︎
9. Definition and function of traction cleats on heavy machinery. ↩︎
10. Official border control and trade enforcement agency website. ↩︎