I know the sinking feeling when a customer calls me with a broken excavator in the middle of a muddy job site. Every hour that machine sits idle costs you money, and you need a clear plan to fix track shoe assemblies 1 immediately without wasting time on guessing games.
Field replacement of track shoes on a 30-ton excavator typically requires 4 to 8 hours per side with a two-person crew. Essential tools include a 1-inch drive impact wrench, a torque multiplier, a 20-ton jack, and an oxy-acetylene torch for removing seized bolts.
But simply having the tools is not enough; you need to know exactly how to use them safely. Let’s walk through the specific equipment lists, safety checks, and realistic time budgets you need to get your machine back to work.
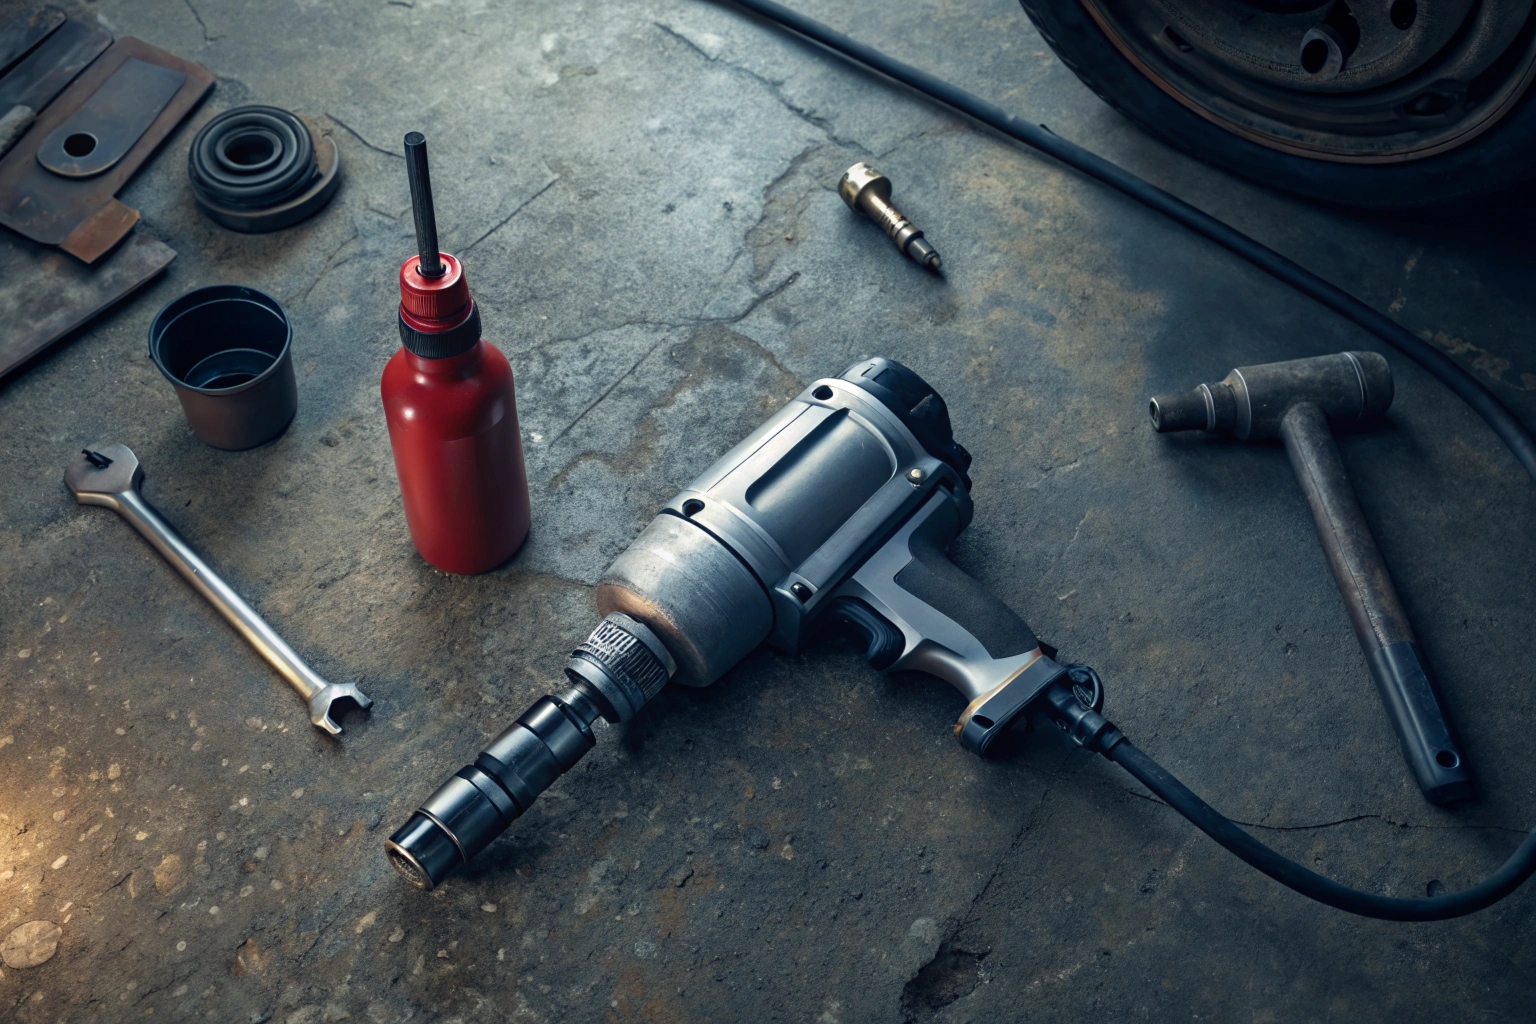
What size hydraulic impact wrench or torque multiplier do my customers need for the track bolts?
I have seen too many mechanics try to tackle this job with standard shop tools, only to give up after breaking their sockets. You cannot rely on regular equipment when dealing with undercarriage parts 2 that hold up 30 tons of steel.
You need a 1-inch drive pneumatic impact wrench and a manual torque multiplier with a 4:1 ratio. Additionally, you must have a heavy-duty torque wrench capable of reaching 600 ft-lbs to ensure the final "torque-turn" specification is met correctly.

At Dingtai, we test our bolts to withstand massive forces, so I know exactly what it takes to install them properly. The most critical tool is the torque multiplier 3. Modern excavator track bolts use a torque-turn 4 method. This means you tighten the bolt to a set force (like 400 ft-lbs) and then turn it an extra 120 degrees. This stretches the bolt just enough to keep it tight. You simply cannot do this with a hydraulic impact wrench 5 alone. If you skip this step, the shoes will loosen within a week.
Here is a checklist of the heavy-duty gear you must load onto the truck:
Essential Tool Checklist
| Tool Category | Specific Requirement | Function |
|---|---|---|
| Power Tools | 1-inch Drive Impact Wrench | Rapid removal of nuts and initial tightening. |
| Precision Tools | Torque Multiplier (4:1 Ratio) | Achieving the final high-torque spec safely. |
| Lifting | 20-Ton Bottle Jack | Lifting the track frame to release tension. |
| Cutting | Oxy-Acetylene Torch 6 | Cutting off rusted nuts that impact wrenches cannot move. |
| Cleaning | Wire Cup Brush / Angle Grinder | Cleaning the mating surface between link and shoe. |
Do not forget the cleaning tools. Before you put a new shoe on, you must clean the metal surface of the track link. If you leave dirt or old paint there, it will crumble later, leaving a gap. That gap makes the bolts loose, and loose bolts lead to broken parts.
Is it safe for my customers to do this replacement on a job site, or should it be done in a workshop?
Field repairs are often necessary, but I always worry when I hear about crews working in deep mud or on slopes. The environment on a job site adds serious risks that you do not face on a clean, level concrete floor.
While field replacement is common, it is significantly more dangerous due to unstable ground. A workshop offers level concrete for jacks and overhead cranes for lifting. If field repair is unavoidable, you must use stable cribbing and ensure the machine is on flat, dry ground.
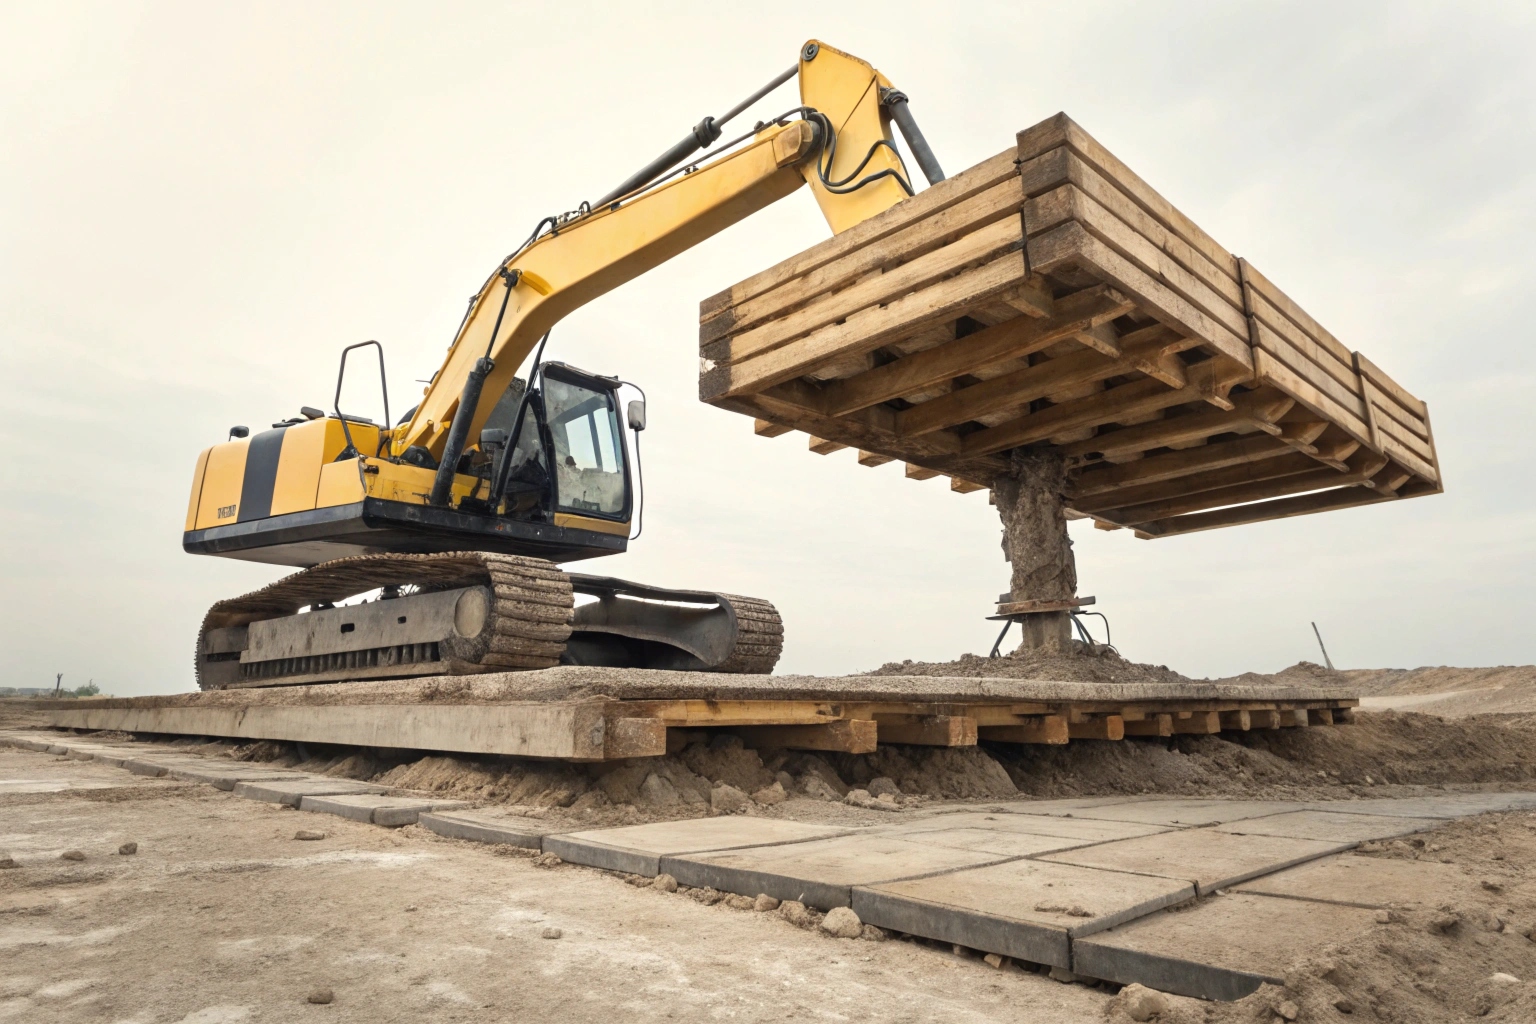
Safety is the most important part of my business, and it should be for yours too. In our factory, we use overhead cranes to move heavy track chains. On a job site, you usually rely on the excavator's own boom or a second machine. This creates a "crush zone." The biggest danger in the field is the jack sinking into soft soil. If the jack shifts while a mechanic has their hands inside the track frame, the result can be fatal.
The Hidden Danger: Stored Energy
You also need to be careful with the track tensioner 7. To change shoes, you often need to release the grease valve. This valve holds extreme pressure. I have heard stories of inexperienced mechanics unscrewing it too fast, causing the valve to shoot out like a bullet. In a workshop, you have good lighting to see what you are doing. In the field, mud can hide the valve. You must clean the area well and stand to the side, never in front of it. This is a classic example of hazardous stored energy 8.
Field vs. Workshop Risk Comparison
| Hazard | Field Environment | Workshop Environment |
|---|---|---|
| Ground Stability | High Risk: Jacks can sink or slip on mud/gravel. | Low Risk: Flat, reinforced concrete floors. |
| Lifting Safety | High Risk: Using excavators/chains creates swing hazards. | Low Risk: Overhead cranes provide vertical, stable lifts. |
| Lighting | Poor: Shadows hide pinch points and leaks. | Excellent: Full visibility of all components. |
| Debris | High: Mud causes tool slippage and eye injuries. | Low: Clean environment reduces accidents. |
If you must work in the field, use large wooden blocks (cribbing 9) under your jacks to spread the weight. Never rely on hydraulic pressure alone to hold the machine up.
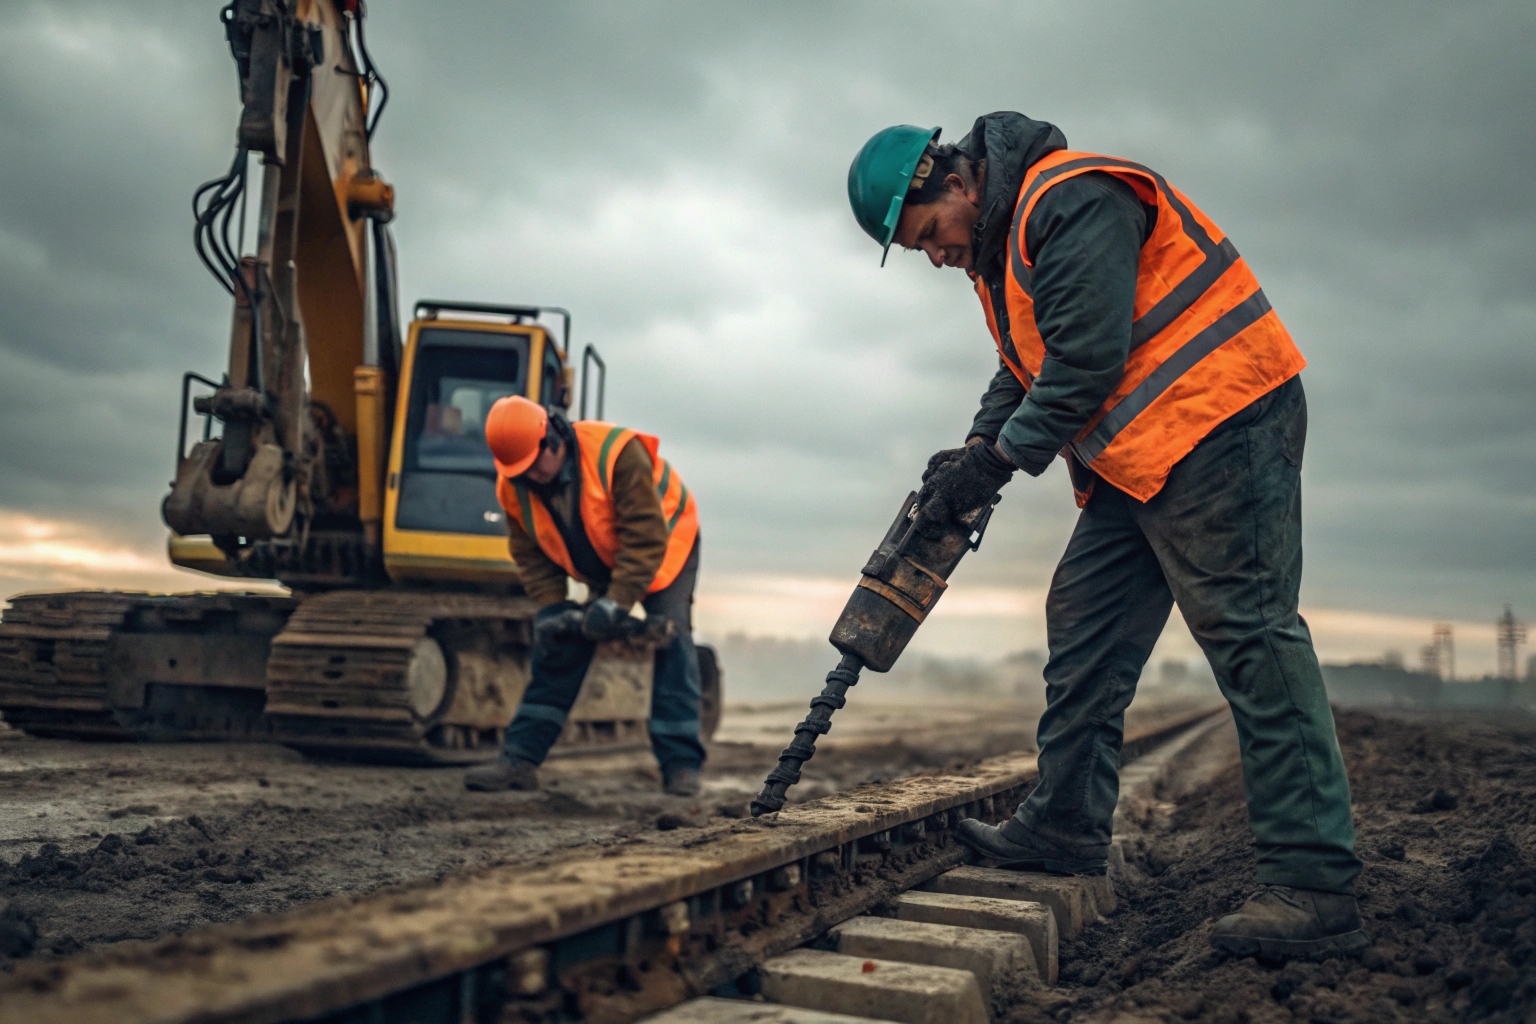
How many man-hours should I budget for replacing a full set of track shoes on a mid-size excavator (e.g., 30-ton)?
Time is money, and underestimating labor can ruin the profit margin on a repair job. You need to know the difference between swapping a pre-assembled chain and replacing individual shoes one by one.
For a 30-ton excavator, budget approximately 12 to 16 man-hours total for a full swap. This assumes a two-person crew working for 6 to 8 hours. However, if bolts are seized or the track chain requires repair, this time can easily double.
When I calculate costs for my clients, I look at the math carefully. On a 30-ton excavator, you have about 45 to 50 shoes per side. That is nearly 100 shoes total. Each shoe has 4 bolts. That means your crew has to remove 400 bolts and torque 400 new ones.
The Mathematics of Labor
Let’s break it down. If it takes 2 minutes to remove an old bolt (which is optimistic if they are rusty) and 3 minutes to clean and torque a new bolt, you are looking at 5 minutes per bolt.
- 400 bolts x 5 minutes = 2,000 minutes.
- 2,000 minutes / 60 = 33.3 man-hours.
Wait, my summary said 12 to 16 hours? That lower number applies if you are swapping the entire track group (chain plus shoes pre-assembled). If you are physically unbolting every single shoe in the field, the labor cost is much higher. This is why many of our customers in the US and Europe prefer to buy the full Track Group from us. The factory assembly is cheaper than paying a field mechanic huge hourly rates to turn wrenches for three days.
Task Breakdown for Shoe Swapping (One Side)
| Step | Task | Estimated Time (2 Mechanics) |
|---|---|---|
| 1 | Setup, Lifting, and Cleaning | 1.0 Hour |
| 2 | Cutting/Removing Old Bolts (45 Shoes) | 2.5 - 4.0 Hours |
| 3 | Surface Prep (Grinding Links) | 1.5 Hours |
| 4 | Positioning New Shoes | 1.0 Hour |
| 5 | Torquing New Bolts (Torque-Turn) | 2.0 - 3.0 Hours |
| Total | Full Side Replacement | 8 - 10.5 Hours |
If you are only changing a few broken shoes, field repair is fine. But if the shoes are worn out, the chain is likely worn out too. In that case, swapping the whole assembly is faster and gives you a completely new undercarriage life.
What is the most difficult or time-consuming part of the replacement process (e.g., breaking loose old bolts)?
Even the best plans fail when you run into unexpected mechanical issues. You need to know where the bottlenecks are so you can prepare backup solutions before you start.
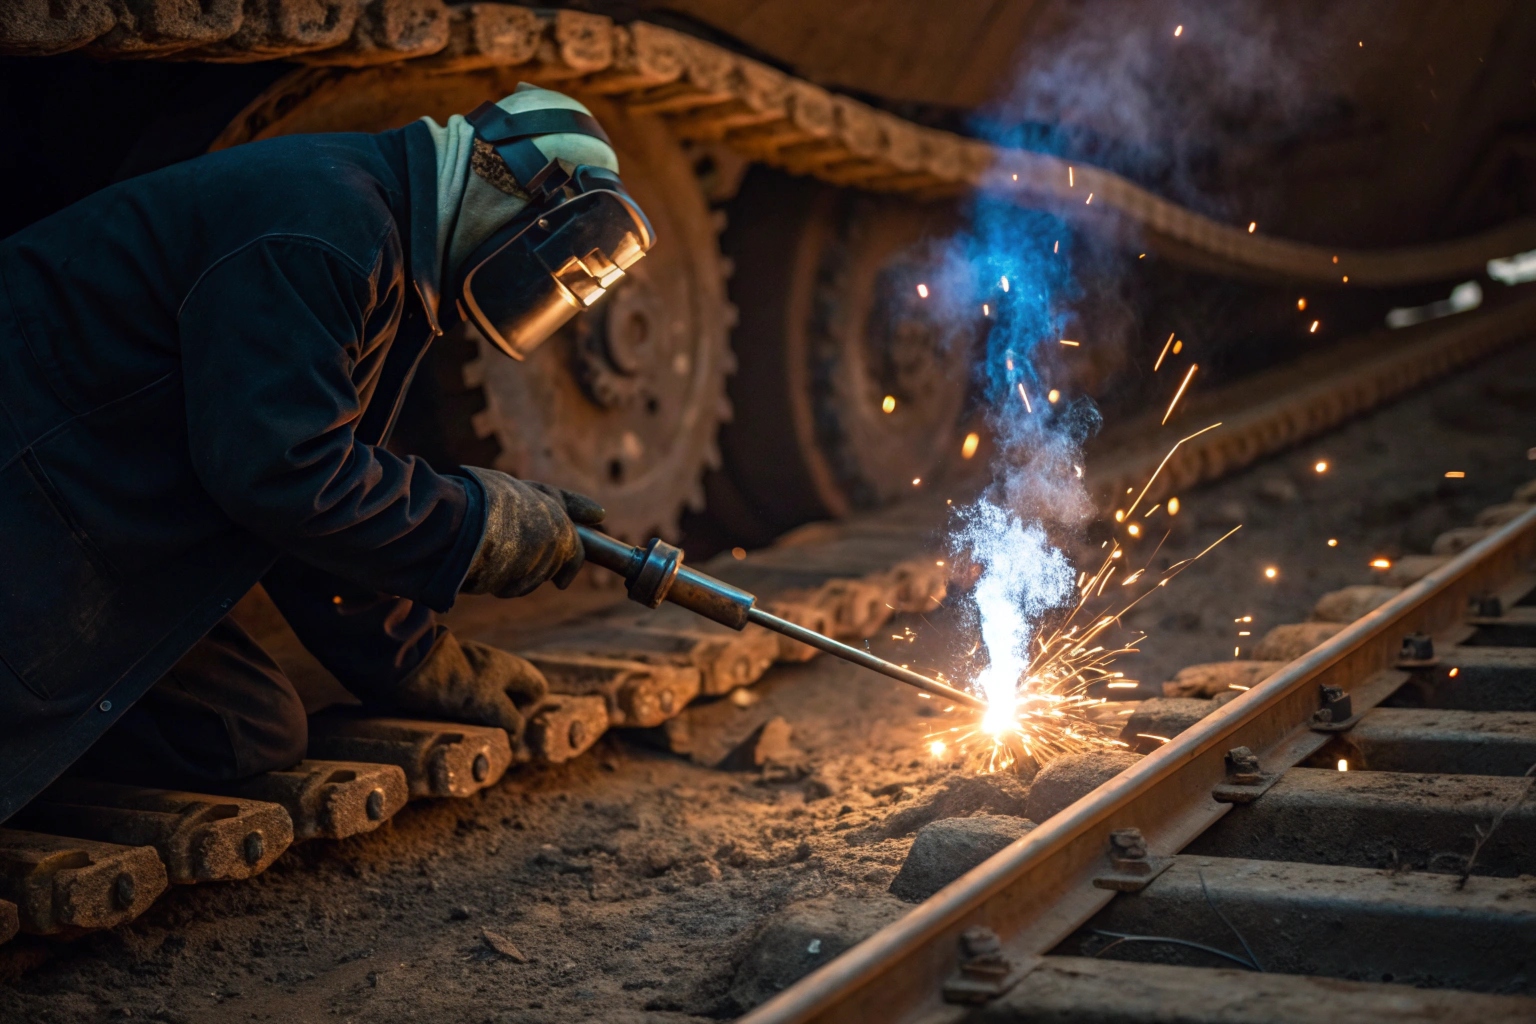
Breaking loose old, rusted bolts is the single most time-consuming step. Often, impact wrenches fail, requiring technicians to cut nuts off with torches. Cleaning the mating surfaces on the track link is also critical and frequently overlooked, causing rework later.
The reality of earthmoving equipment is that it lives in the dirt. Over thousands of hours, soil packs into the threads of the bolts, and water causes deep rust. When you try to remove a track bolt, it often seizes. A 1-inch drive impact gun might just hammer away without turning the nut. Or worse, the head of the bolt snaps off, leaving the shank stuck inside the track link.
The Torch Solution
When a bolt is seized, do not waste time fighting it. The most efficient crews move immediately to the oxy-acetylene torch. They burn the nut off the bottom. This sounds simple, but it requires skill. You must cut the nut and the bolt shank without melting the hole in the track link. If you damage the track link hole, the new bolt will never sit tight, and the shoe will wobble. This is why I always recommend having a skilled welder or fabricator on the crew.
The "Mating Surface" Trap
I mentioned this earlier, but it is the number one reason for failure after a repair. The mating surface 10 is where the shoe touches the link. This area endures massive side-loads. If there is a layer of paint (from a new part) or rust (from an old part) in between, that layer acts like a cushion. Under the weight of the machine, that cushion gets crushed and disappears. Now, your bolt is loose.
We instruct all our partners to grind this surface down to bare, shiny metal. Do not leave primer. Do not leave dirt. It takes time—perhaps an extra hour for the whole machine—but it prevents you from having to send the crew back out next week to retighten 400 bolts. Doing it right the first time is always the fastest way.
Conclusion
Planning your track maintenance saves time and money. Use the right heavy-duty tools, estimate your labor costs realistically, and always prioritize safety to keep your excavators running profitably.
Footnotes
1. Overview of track shoe types and maintenance needs. ↩︎
2. Comprehensive guide to excavator undercarriage components. ↩︎
3. Technical specs for heavy-duty torque multipliers. ↩︎
4. Explanation of torque-turn tightening vs standard torque. ↩︎
5. Safety and operation of high-pressure hydraulic tools. ↩︎
6. Basics of oxy-fuel cutting for heavy metal. ↩︎
7. Parts breakdown for track adjuster assemblies. ↩︎
8. Risks and controls for hazardous stored energy. ↩︎
9. OSHA guidelines for safe equipment cribbing practices. ↩︎
10. Importance of joint stiffness in bolted assemblies. ↩︎